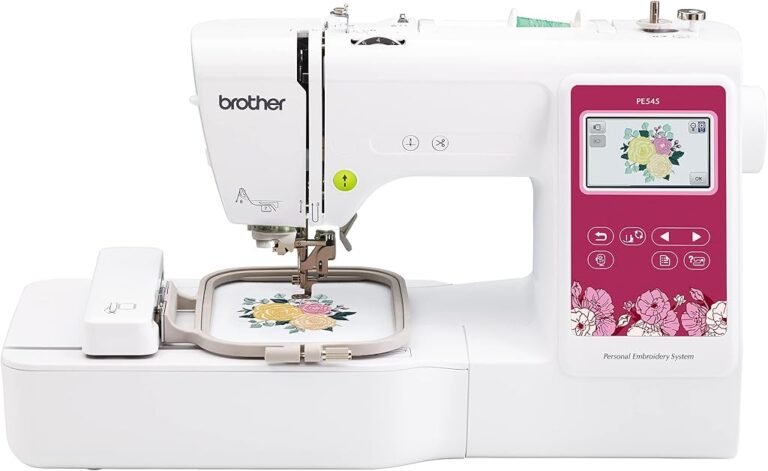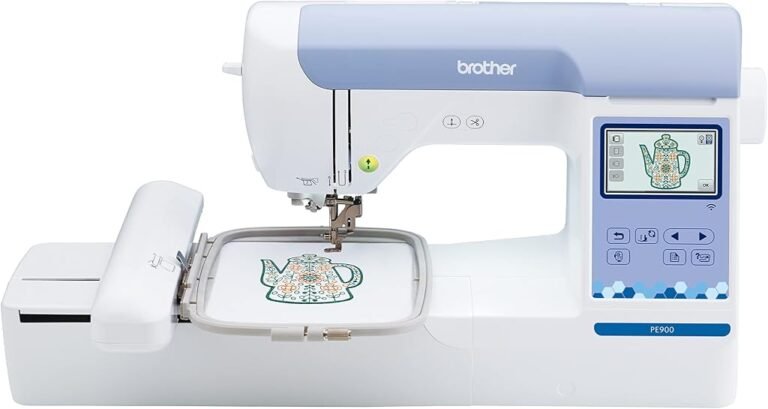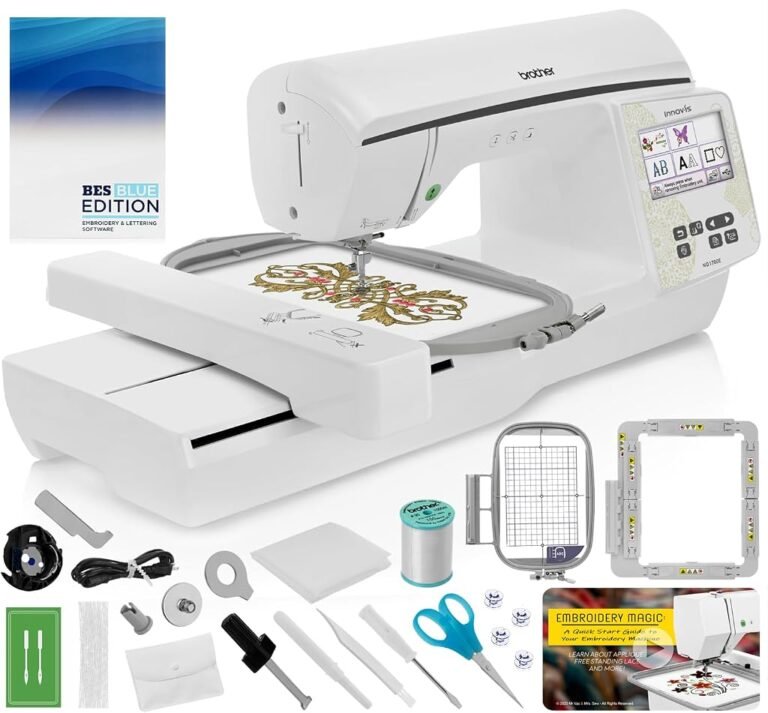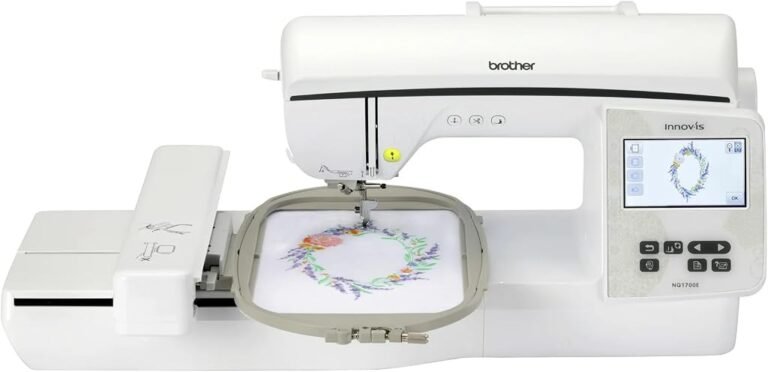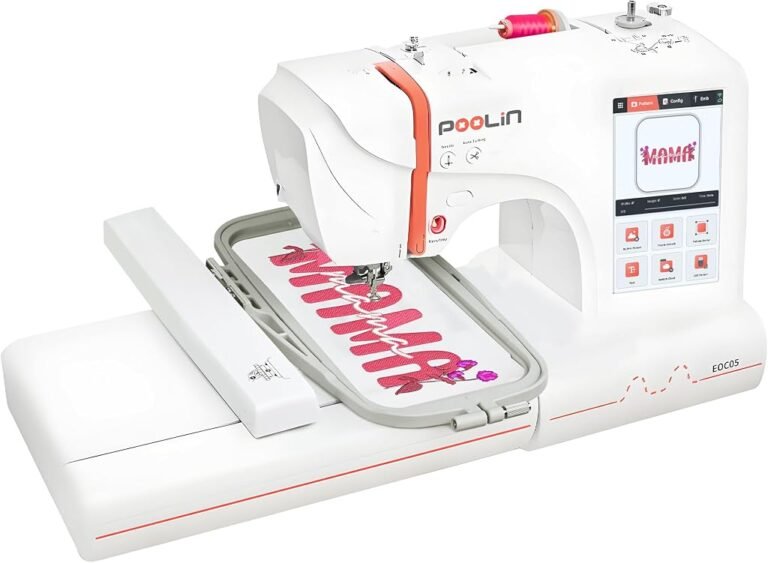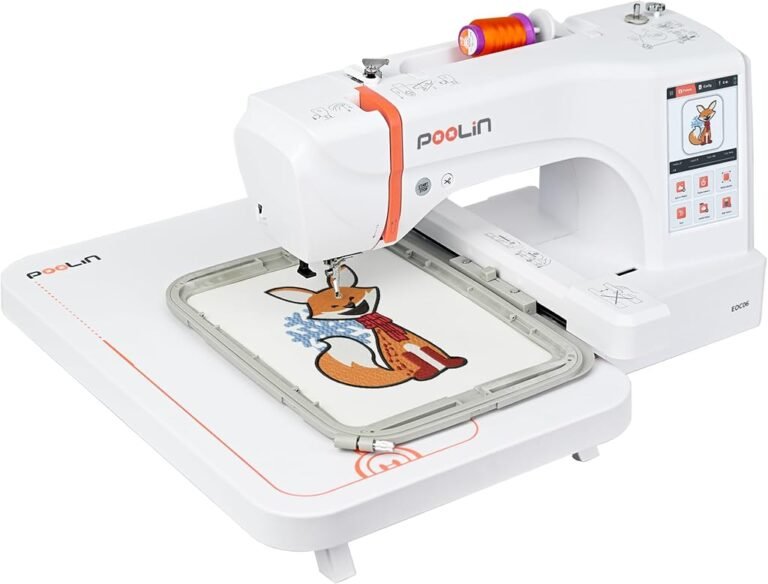
A sewing or embroidery machine can appear clean while its most important moving areas quietly collect lint, thread fragments, adhesive residue, and microscopic fiber dust.
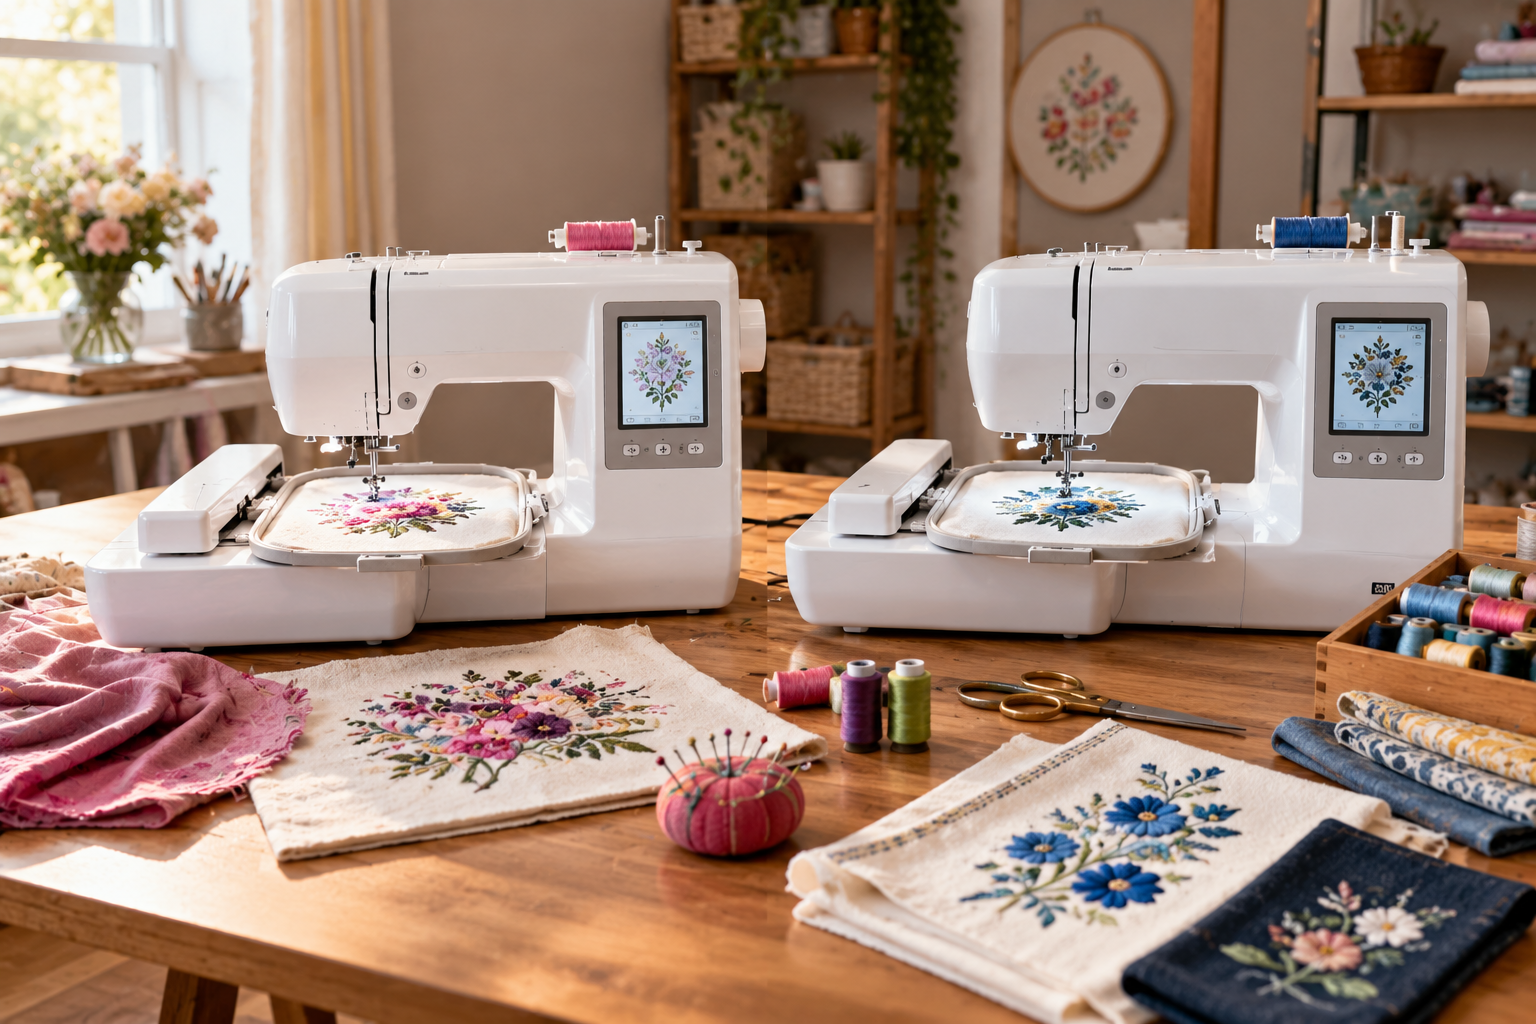
That accumulation is not merely cosmetic. Fabric passes directly over feed dogs and the needle plate. Thread travels at high speed through tension systems, guides, the needle, hook, and bobbin area. Every hour of stitching introduces more material into a mechanism built around narrow tolerances. Eventually, contamination can interfere with thread movement, bobbin rotation, feed performance, sensors, automatic cutters, and stitch formation.
The maintenance problem is complicated by one fact: modern machines do not all require the same treatment.
Some models require routine user oiling. Others are lubricated internally and should not receive oil unless their manual specifically identifies a lubrication point. Some bobbin systems can be removed and brushed easily. Computerized embroidery machines may contain thread sensors and cutting mechanisms that require more cautious cleaning. Older mechanical machines may expose more components that the owner is expected to maintain.
The safest rule is therefore simple: general cleaning principles can be shared across machines, but lubrication and disassembly must follow the instructions for the exact model.
Brother’s maintenance documentation warns that dust in the bobbin area can impair sewing performance and instructs users to switch off and unplug the machine before cleaning. Brother’s care and maintenance instructions also describe cleaning the race, bobbin thread sensor, and surrounding area with a cleaning brush or vacuum cleaner.
That is where good maintenance begins: power disconnected, debris removed carefully, and no lubricant added simply because a moving machine seems as though it ought to need some.
Why Sewing Machines Accumulate So Much Lint
Fabric manufacturing leaves fibers available to break loose during handling. Sewing accelerates that process.
Feed dogs grip fabric repeatedly. The needle punctures fibers at high speed. Thread rubs through guides and tension components. Fuzzy materials such as fleece, flannel, batting, toweling, felt, and some knits can generate substantial debris.
Much of that material falls downward.
The area beneath the needle plate therefore becomes a natural collection point. Feed-dog openings allow dust and fibers to move below the sewing surface, where they can accumulate around the bobbin case, hook, race, thread cutter, or sensors.
Embroidery can intensify the issue because a machine may run thousands or tens of thousands of stitches during one design. The operator is not constantly moving fabric by hand, so it is easy to forget how much thread and material have passed through the mechanism.
A machine does not need to be visibly dirty on the outside to need cleaning inside.
Step 1: Turn Off and Unplug the Machine
Cleaning starts by disconnecting electrical power.
Turning the machine off is good practice, but unplugging it adds another layer of protection when hands, brushes, or tools are entering the needle and bobbin areas.
Janome’s care guidance explicitly states that the machine should be switched off and unplugged before cleaning. Janome’s care and maintenance instructions also provide model-specific lubrication guidance for machines that require user oiling.
Raise the needle before removing components if the machine design permits. Remove the presser foot when it blocks access.
The needle itself is also worth removing during deeper cleaning. A stationary needle is still sharp enough to puncture a finger while the operator reaches underneath the presser-foot area.
For an embroidery machine, detach the embroidery unit when the manufacturer’s instructions call for doing so.
Electrical safety and mechanical access should be settled before cleaning begins.
Step 2: Remove the Needle Plate According to the Manual
The needle plate hides one of the machine’s dirtiest regions.
Depending on the model, it may be held by screws, a quick-release mechanism, or a removable cover.
Do not pry at it.
Once removed, the feed dogs, bobbin area, and surrounding cavity become easier to inspect.
Lint often gathers between feed-dog teeth and along the edges of openings in the plate. Thread fragments can wrap around moving parts or settle in corners where they are almost invisible from above.
This is also a useful time to inspect the needle plate itself.
A needle that has struck the plate can leave a burr or rough spot. Thread passing repeatedly across a damaged surface may snag or fray. Deep needle strikes can also suggest a separate problem involving needle installation, fabric pulling, incorrect accessories, or timing.
Cleaning should therefore include observation, not just dust removal.
Step 3: Remove the Bobbin and Bobbin Case
Take out the bobbin.
If the machine uses a removable bobbin case and its instructions permit user removal, take that out as well.
Do not force anything that does not release in the expected direction.
The bobbin case is a precision component. Its relationship with the hook and needle affects stitch formation, and incorrect reinstallation can cause poor stitching or needle contact.
Brother’s bobbin-area instructions advise removing lint with a cleaning brush or vacuum and warn against using a scratched bobbin case because damage can contribute to thread tangling, needle breakage, or poor sewing performance.
After removal, inspect the case under good light.
Look for trapped thread, lint packed into narrow spaces, obvious scratches, or rough edges.
A damaged case is not something to reshape casually with household tools unless the manufacturer specifically provides such a repair procedure.
Step 4: Brush Out Lint Instead of Pushing It Deeper
A small machine-cleaning brush is one of the most useful maintenance tools available.
Use it to sweep lint upward and outward from the hook, race, feed dogs, and surrounding cavity.
Direction matters.
Aggressive brushing that pushes debris further into openings can move contamination away from sight without actually removing it.
A narrow brush can reach between feed-dog teeth and around the bobbin housing. Tweezers can sometimes remove long thread fragments, provided they are used carefully and do not scratch polished surfaces.
Bernina’s sewing-machine maintenance workbook advises removing lint and thread from beneath the stitch plate with the supplied brush or tweezers and gives a usage-based cleaning schedule for the machines covered by that material.
The broader lesson is more useful than any one schedule: cleaning frequency should respond to how much the machine is sewing and what materials are passing through it.
Step 5: Use Vacuum Suction Only Where the Manufacturer Allows It
Vacuuming is sometimes recommended for lint removal, including in Brother documentation for particular models.
When approved, gentle suction can remove loose debris without adding moisture.
The nozzle should not be rammed into delicate components.
Avoid improvising with powerful compressed air unless the machine manufacturer specifically permits it. A blast of air can drive lint deeper into the machine rather than remove it. It can also relocate debris toward electronics, sensors, or lubrication points.
The objective is extraction, not redistribution.
A small brush followed by approved suction is often more controlled than attempting to blow the entire area clean.
Step 6: Clean the Feed Dogs Carefully
Feed dogs are the small toothed components that move fabric under the presser foot.
Lint can pack between their teeth until the valleys become partly filled.
That accumulation matters because feed dogs rely on surface contact. If debris becomes heavy enough, feeding can become less consistent.
Use the brush to clean between the teeth while the needle plate is removed.
Do not scrape them with a knife, pin, screwdriver, or other hard object. The goal is to remove fibers without damaging the feeding surface.
If fabric seems to feed poorly even after cleaning, other causes may exist: presser-foot pressure, stitch settings, feed-dog position, fabric characteristics, or an internal mechanical fault.
Maintenance should eliminate obvious contamination before adjustments or repairs are considered.
Step 7: Inspect the Hook and Race
The hook is central to stitch formation.
As the machine sews, the hook interacts with the upper thread so that a stitch can form around the bobbin thread. Its motion is precisely synchronized with the needle.
Lint and stray thread around this region deserve attention.
Remove loose debris with the approved brush. If the manual allows additional hook removal, follow the exact sequence given for the model.
Do not dismantle deeper assemblies because they look accessible.
A component that can physically be unscrewed is not necessarily intended for routine owner removal.
Older mechanical models often permit more direct access than newer computerized machines. That difference is one reason generic maintenance tutorials can be risky when applied without checking the machine’s own documentation.
Step 8: Clean the Automatic Thread Cutter
Many computerized sewing and embroidery machines include an automatic thread-cutting mechanism.
Thread tails and lint can accumulate around the cutter.
A cutter that cannot move freely may fail to trim cleanly, leave unusually long tails, or behave inconsistently.
Some machines provide a maintenance menu that moves the cutter or catcher into a position where debris can be removed. Bernina, for example, documents models with interactive cleaning procedures that reposition the thread-catching mechanism for access.
This is an area where force should be avoided.
If the cutter is not meant to be moved by hand, do not pull it into position.
Remove only the debris that can be reached using the procedure specified by the manufacturer.
Step 9: Clean Thread Sensors Gently
Computerized machines may monitor upper thread, bobbin thread, or both.
Dust near these systems can interfere with operation on some models.
Brother’s bobbin-cleaning guidance specifically refers to cleaning around the bobbin thread sensor as part of bobbin-area maintenance.
A sensor should be treated differently from a metal hook.
Avoid oil, aggressive rubbing, and sharp tools around electronic sensing components.
A soft brush is generally the appropriate first approach where the manual instructs the owner to clean the area.
Persistent false thread warnings after correct threading and cleaning may require service rather than deeper user disassembly.
Step 10: Clean the Exterior Without Flooding It
The outside of the machine needs a much gentler procedure.
Dust the body with a soft cloth.
For marks that require more than dry wiping, use the cleaning method given by the manufacturer. Brother documentation for some models recommends a cloth lightly moistened with neutral detergent, followed by a damp cloth and then a dry cloth.
Liquid should never be allowed to run into buttons, vents, seams, screens, ports, or internal electronics.
Avoid harsh household chemicals unless the machine maker specifically identifies them as safe.
Aggressive solvents can damage plastics, printed markings, clear surfaces, decorative coatings, and touchscreen materials.
The exterior should be cleaned as an electronic appliance with precision mechanisms inside it, not as kitchen equipment.
Step 11: Decide Whether the Machine Actually Needs Oil
This is the point where generic maintenance advice becomes dangerous.
Some sewing machines require periodic oiling.
Some require oil only at specified locations.
Others are factory lubricated and do not call for routine owner oiling.
Singer’s current maintenance guidance states that when a machine manual does not contain oiling instructions, the machine has been prelubricated at the factory and does not require additional routine lubrication. Singer’s machine-maintenance guidance explains the manufacturer’s approach to lubrication and other routine care.
That single distinction should stop the common practice of putting oil into any opening that looks mechanical.
Oil where it does not belong can contaminate thread, fabric, belts, electronic parts, sensors, or surfaces designed to remain dry.
The manual determines whether oil is required.
Not habit.
Not the age of another machine.
Not a generic video showing a different model.
Step 12: Use Only the Correct Sewing-Machine Oil
When the manual does require lubrication, use the oil specified for sewing machinery or the lubricant explicitly identified by the manufacturer.
Do not substitute cooking oil, automotive oil, penetrating lubricant, or general household oil.
Lubricants vary in viscosity, additives, residue, and behavior over time.
Janome’s documentation for the 1600P calls for two or three drops at illustrated points and specifies sewing-machine oil for that machine. It also instructs the user to wipe away excess and sew on waste fabric afterward so remaining oil does not reach the finished project.
More oil is not better.
A few correctly placed drops can lubricate a component. Excess oil can spread into places where it is not wanted.
Step 13: Follow a Usage-Based Cleaning Schedule
Calendar-based rules can be misleading.
A machine used twice a month does not accumulate debris at the same rate as one embroidering commercially for several hours each day.
The material also changes the equation.
Fleece, batting, flannel, faux fur, and other lint-producing materials can make cleaning necessary far sooner than tightly woven fabrics.
Bernina’s workbook recommends cleaning and oiling the machines covered by its instructions every other bobbin or after roughly three to four hours of actual sewing, while also advising users to follow their model-specific manual.
That frequency should not be copied blindly to every brand.
A better maintenance rhythm uses visible and operational cues:
- check the bobbin area after lint-heavy projects;
- clean when visible fibers collect beneath the needle plate;
- inspect after long embroidery runs;
- investigate unusual increases in machine noise;
- clean before storing a machine for an extended period;
- check the manual’s own service and lubrication schedule.
The objective is to keep debris from building into a mechanical problem.
Step 14: Replace Needles as Maintenance, Not Just After Breakage
Needles are disposable machine parts.
A needle can become dull or develop a damaged point without breaking.
The result may appear as skipped stitches, fabric damage, thread shredding, poor penetration, or inconsistent embroidery.
A bent needle can also strike the needle plate, presser foot, bobbin case, or hook.
Replacing needles regularly is therefore part of machine care rather than merely project preparation.
Bernina’s workbook suggests changing the needle after approximately four to six hours of sewing for the equipment addressed in that guide.
Different materials change wear rates. Dense embroidery, heavy fabric, adhesive stabilizers, metallic threads, and repeated high-speed stitching can all justify closer inspection.
A cheap needle is often the first component worth replacing when stitch quality suddenly changes.
Step 15: Keep the Thread Path Clean
The upper thread path receives less visible contamination than the bobbin area but can still collect lint.
Thread guides, pre-tension devices, tension discs, and take-up areas all depend on smooth thread movement.
Do not insert oil or random cleaning chemicals into tension discs.
Where accessible and permitted, loose lint can be removed gently.
When cleaning the tension system indirectly, some technicians recommend using suitable thread or cleaning material through the path, but any such procedure should match manufacturer guidance for the specific machine.
Repeated upper-thread breakage should not automatically be blamed on tension settings. A damaged needle, old thread, a burr, incorrect threading, spool problems, or contamination can produce similar symptoms.
Maintenance should proceed methodically rather than by turning adjustment dials at random.
Step 16: Give Embroidery Machines Extra Attention After Long Designs
Embroidery can place a machine under sustained repetitive operation.
A single large design may contain tens of thousands of stitches. Multiple designs can keep the hook, cutter, thread path, and bobbin system working for hours.
After long embroidery sessions, inspect the bobbin area even if the machine still appears to sew normally.
Adhesive stabilizers deserve extra attention because residue may accumulate on needles or around areas exposed to adhesive-backed materials.
Replace sticky needles rather than allowing residue to build until thread begins dragging across the surface.
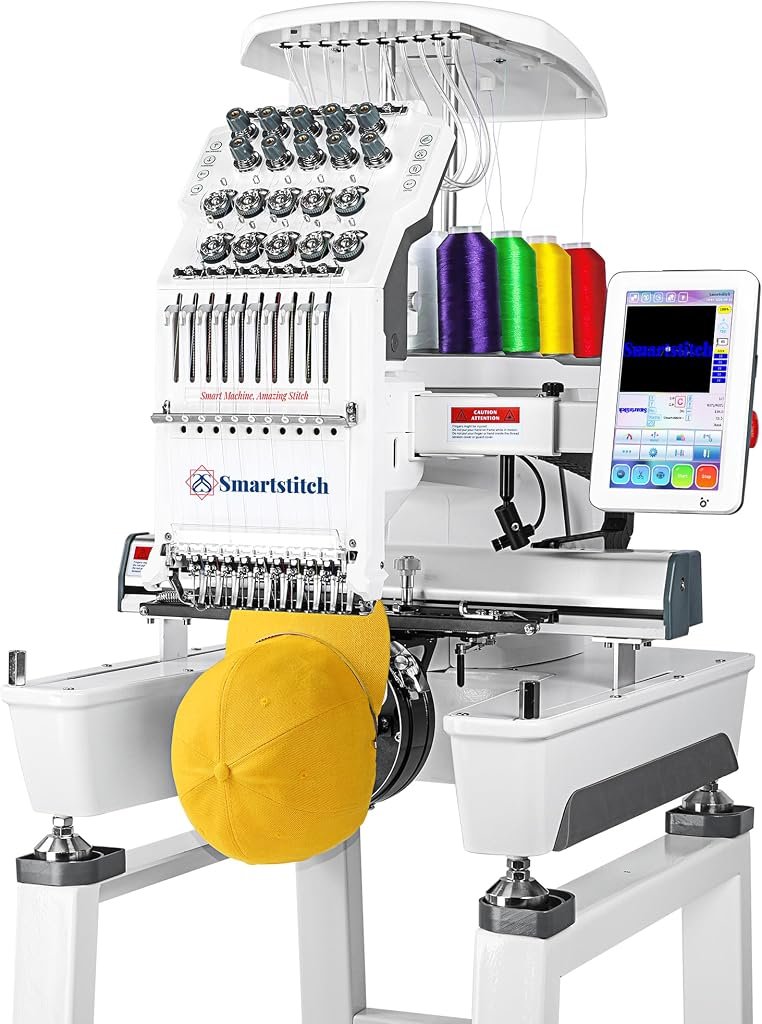
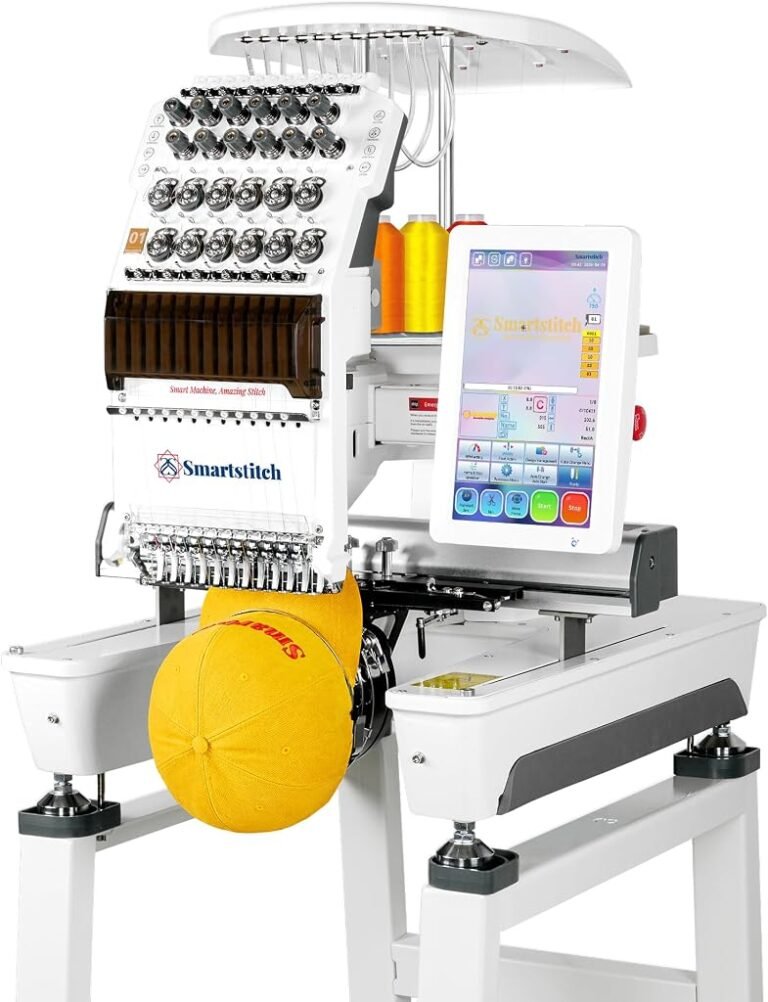
For multi-needle commercial embroidery equipment, lubrication and maintenance schedules can differ considerably from domestic machines. Those systems should be maintained according to their own service documentation rather than domestic-machine routines.
Even the best sewing and embroidery machines cannot overcome neglected moving parts indefinitely.
Step 17: Reassemble the Machine Carefully
Cleaning is not finished until every removed component has been reinstalled correctly.
Seat the bobbin case in its proper orientation.
Replace the needle plate and tighten its screws evenly where screws are used.
Install a suitable needle correctly, usually with the orientation specified by the machine maker.
Replace the presser foot.
Rotate the handwheel manually through a full stitch cycle if the manufacturer permits that check. Unusual resistance should be investigated before the motor is used.
A bobbin case installed incorrectly can contact the needle.
A loose needle plate can affect feeding or create noise.
Maintenance performed carelessly can therefore introduce the problem it was meant to prevent.
Step 18: Test on Scrap Fabric
After cleaning, oiling where required, and reassembly, test the machine before returning to a valuable project.
Use scrap fabric similar to the intended material.
Sew straight stitches first.
Then test zigzag or decorative stitches where relevant.
For embroidery, run a small test design if deeper maintenance has been performed.
Look and listen.
The machine should feed smoothly. Stitches should form normally. Thread should move without repeated breaks. The machine should not produce new knocking, grinding, scraping, or unusually harsh sounds.
If oiling was performed, waste fabric also provides a safe place for excess lubricant to appear before a finished item reaches the needle.
What Should Never Be Done During Routine Cleaning
Some maintenance mistakes create more risk than the dirt being removed.
Routine cleaning should avoid:
- pouring oil into unidentified openings;
- forcing the handwheel;
- using a household lubricant instead of sewing-machine oil;
- scraping precision surfaces with metal tools;
- spraying cleaning fluid into the machine;
- blowing high-pressure air deep into electronics;
- dismantling timing mechanisms without service instructions;
- pulling stuck thread with enough force to bend components;
- operating the machine with covers or plates incorrectly installed;
- continuing to sew when the machine produces persistent grinding or impact noises.
Mechanical curiosity is useful. Random disassembly is not maintenance.
When Professional Service Is the Better Choice
Cleaning solves contamination. It does not correct every mechanical fault.
Service becomes the more sensible path when the machine shows symptoms such as persistent knocking, timing problems, repeated needle strikes, damaged wiring, motor irregularities, seized movement, error messages that remain after approved cleaning, or continuing stitch failures despite correct threading and fresh consumables.
A machine that has sat unused for years may also benefit from inspection before sustained operation.
Old lubricants can change condition. Belts can age. Dust can migrate. Electrical components may deteriorate even when the machine has not sewn a stitch.
Heavy commercial use creates another case for scheduled professional attention because downtime has direct economic consequences.
An owner can remove lint. That does not mean the owner should recalibrate a precision hook-to-needle relationship without the necessary tools and technical documentation.
A Practical Maintenance Routine
A repeatable process helps prevent cleaning from becoming an emergency response.
A sensible routine can follow this order:
- Switch off and unplug the machine.
- Remove the needle and presser foot if required for access.
- Remove the needle plate using the approved procedure.
- Remove the bobbin and removable bobbin case.
- Brush lint from feed dogs, hook, race, and surrounding areas.
- Remove loose thread fragments with suitable tweezers where safe.
- Clean approved sensors and automatic-cutter areas gently.
- Inspect the bobbin case and needle plate for damage.
- Clean the exterior with an appropriate cloth.
- Oil only if the exact machine instructions call for it.
- Wipe away excess lubricant.
- Reinstall the bobbin case and needle plate correctly.
- Fit a fresh needle when the existing needle is worn or suspect.
- Rethread the machine.
- Test on scrap fabric before resuming the project.
That routine can take only a few minutes when performed regularly.
Waiting until lint is packed beneath the needle plate usually takes longer.
Final Considerations
Machine maintenance is less dramatic than machine repair, which is precisely why it is easy to postpone.
A sewing machine can tolerate gradual contamination for a surprisingly long time. It may keep stitching while lint gathers beneath the plate, thread fragments collect around the hook, a needle grows dull, and the cutter accumulates debris.
That apparent tolerance should not be mistaken for cleanliness.
Routine maintenance is built around a small set of disciplined actions: disconnect power, remove accessible lint, inspect wear items, clean the bobbin and feed areas, follow model-specific lubrication instructions, reassemble carefully, and test before returning to valuable work.
The distinction between cleaning and mechanical intervention matters.
Removing lint is normal ownership. Timing adjustments, deep electronic work, motor repair, and major internal disassembly belong in a different category.
Lubrication demands similar restraint. Some machines require regular oil. Others do not. Manufacturer documentation should settle that question before a single drop is applied.
Usage should determine cleaning frequency more than the calendar. A machine sewing thick fleece for several hours can collect more debris than another machine accumulates during weeks of occasional lightweight sewing. Embroidery machines deserve especially close inspection after long stitch runs because sustained operation moves large amounts of thread through the hook and bobbin systems.
The machine itself usually provides clues when attention is overdue: increased noise, visible lint, irregular cutting, unusual feeding, thread problems, or debris around the bobbin case.
The best maintenance habit is to act before those clues become failures.
A few minutes with a brush, a fresh needle, and the correct manual can preserve stitch consistency and prevent avoidable service problems. The aim is not to make the inside of the machine look immaculate. It is to keep fibers, friction, and wear from interfering with mechanisms that depend on precise movement.
Cleaning is therefore not housekeeping around sewing.
It is part of sewing.