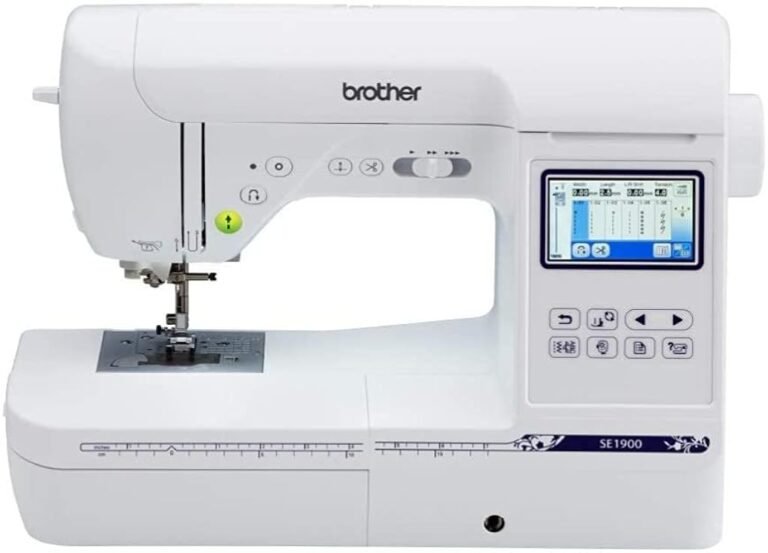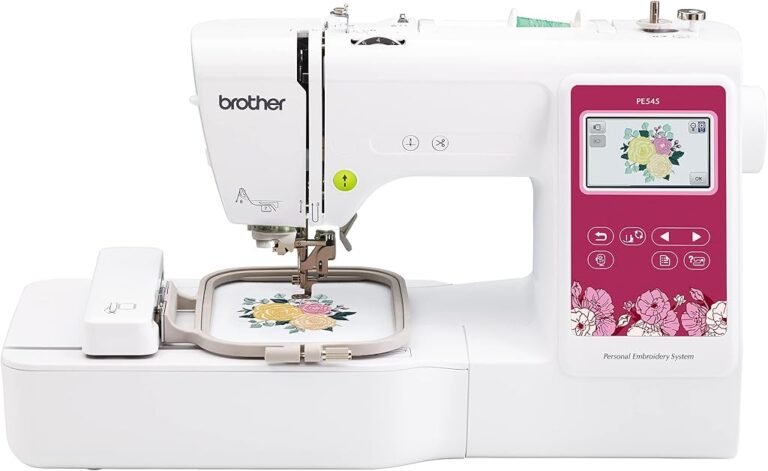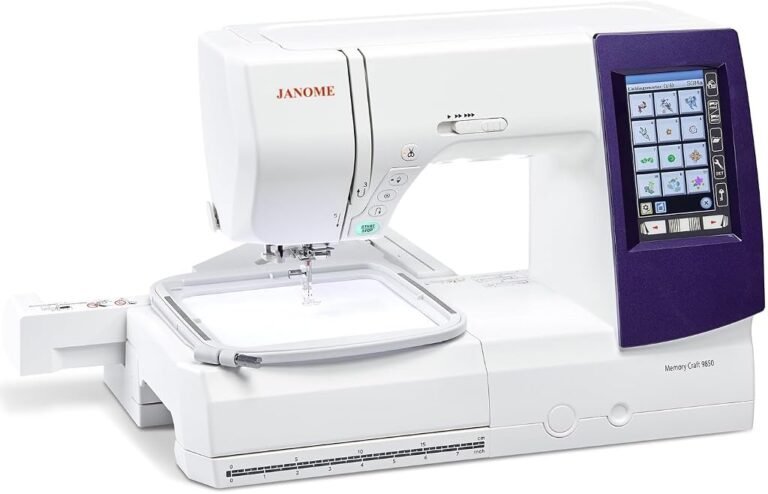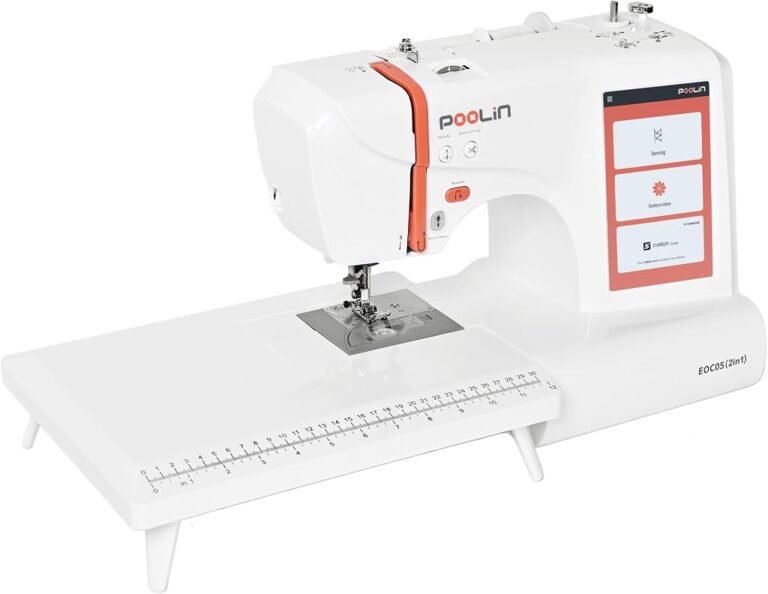
Embroidery-machine specifications contain a deceptively simple pair of measurements: hoop size and embroidery field. They are often discussed as though they mean the same thing. They do not.
That distinction can determine whether a design fits a machine at all.
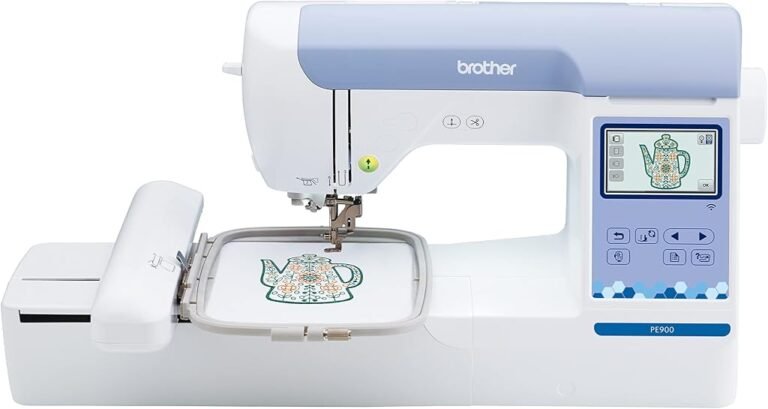
The hoop is the physical frame used to hold fabric and stabilizer during embroidery. The embroidery field is the area through which the machine can position the needle relative to that frame. A hoop can therefore be physically larger than the area the machine is capable of stitching in one placement.
This becomes one of the more expensive misunderstandings in machine embroidery. A buyer sees a large accessory hoop, assumes it expands the machine’s maximum design dimensions, and later discovers that the carriage still has exactly the same travel limits.
Physical travel cannot be enlarged through software, a larger screen or a bigger piece of plastic.
Field size is therefore not a minor accessory specification. It defines a machine’s working boundary.
For someone comparing the best sewing and embroidery machines, understanding that boundary before purchase is far more useful than counting decorative designs or built-in fonts.
Hoop Size and Embroidery Field Are Not Identical
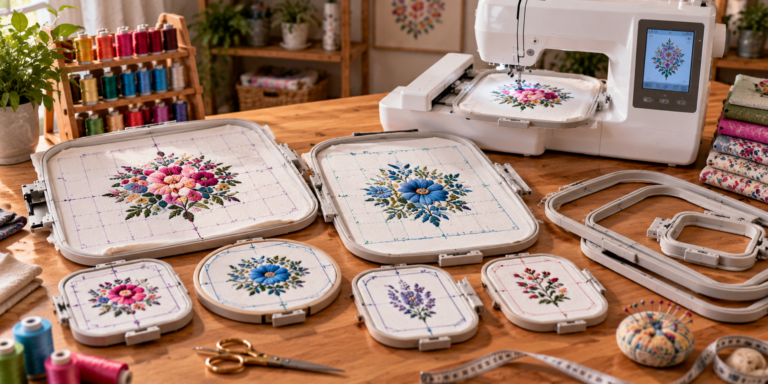
An embroidery hoop consists of an inner and outer frame that secure fabric and stabilizer.
The hoop attaches to the machine’s embroidery carriage. During stitching, motors move the hoop through predetermined X and Y coordinates while the needle forms stitches.
The embroidery field describes the maximum supported stitching area available through that movement system.
This is why a hoop’s outside dimensions tell very little about actual embroidery capacity.
Even its inside opening does not necessarily equal the maximum stitch field.
Part of the frame exists outside the reachable needle area, and the machine’s carriage has finite travel.
A manufacturer may therefore describe a machine as having a 4 × 4-inch embroidery field even though the compatible hoop is physically somewhat larger.
The machine is not malfunctioning. The two measurements describe different things.
Why 4 × 4 Does Not Literally Mean Four Inches
Embroidery specifications are often simplified for marketing.
The familiar “4 × 4” category is a useful example.
Many machines commonly described as 4 × 4 models actually use a maximum field of approximately 100 × 100 millimeters. One hundred millimeters converts to about 3.94 inches, not exactly four inches.
Likewise, specifications presented in inches are often rounded translations of metric dimensions.
This can create trouble when designs sit extremely close to the advertised boundary.
A design measuring exactly 4.00 inches in one direction may exceed a machine whose true limit is 100 mm.
The safest approach is to work from the manufacturer’s actual supported dimensions, preferably in the original measurement system used in the specification.
When software reports design dimensions in millimeters, comparing millimeters with millimeters also eliminates unnecessary conversion and rounding.
The Mathematics of Field Size Changes Quickly
A modest increase in length and width can create a much larger increase in total rectangular area.
Consider two familiar embroidery fields.
A nominal 4 × 4-inch field represents approximately 16 square inches of rectangular area.
A 5 × 7-inch field represents 35 square inches.
The second rectangle is only one inch wider and three inches longer, yet its nominal area is more than twice as large.
Specifically, 35 square inches is 118.75% greater than 16 square inches.
Move from 5 × 7 inches to a nominal 8 × 12-inch field and the rectangle reaches 96 square inches.
That is nearly six times the nominal area of a 4 × 4-inch rectangle.
Area does not tell the entire story because embroidery designs have shapes, not merely square-inch totals. A design that is too wide will not fit simply because unused area exists elsewhere.
Still, the arithmetic explains why a machine that appears only a few inches larger on a specification sheet can support dramatically different projects.
Both Dimensions Must Fit
Embroidery software does not ask whether a design’s total area is smaller than the machine’s field. It asks whether its dimensions can fit within the supported boundary.
Suppose a machine supports a 5 × 7-inch field.
A hypothetical design measuring 4.5 × 6.5 inches fits within those dimensions.
A design measuring 5.5 × 5.5 inches presents a different problem. Its total rectangular area is only 30.25 square inches, smaller than the 35-square-inch area of a 5 × 7 rectangle.
Yet it is too wide for a five-inch limit in that orientation.
Rotation may solve some cases if the other axis provides enough room. It cannot solve every dimensional conflict.
This is why evaluating designs by area alone is inadequate.
Width and height must both be examined.
The Hoop Is a Holding Device
A hoop has a straightforward mechanical job: it holds the embroidery materials in a controlled relationship while the machine moves them.
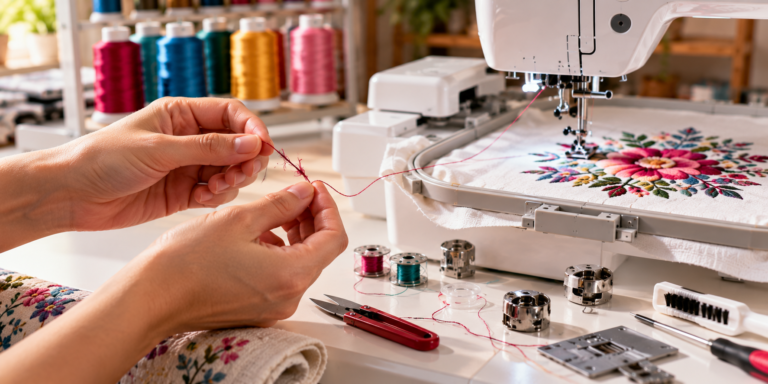
Fabric alone is often not enough. Stabilizer supports the material against the forces generated by repeated needle penetration and thread tension.
The hoop helps maintain that fabric-stabilizer assembly while the design is stitched.
This does not mean every fabric should be stretched aggressively.
Distortion introduced during hooping can remain visible when the fabric is released. Knits are particularly susceptible to unwanted stretching.
Hooping therefore involves control rather than brute force.
The material needs sufficient stability for accurate embroidery without being distorted simply to make the surface feel drum-tight.
Why the Smallest Suitable Hoop Often Makes Sense
A larger hoop is not automatically better.
If a 2-inch monogram fits comfortably in a small hoop, using an enormous frame can consume more stabilizer, require more working clearance and make placement unnecessarily cumbersome.
A smaller compatible hoop can place the frame closer to the design.
That can simplify handling and reduce material waste.
This principle becomes financially relevant when embroidery is repeated.
A few extra inches of stabilizer on one project are trivial. Repeated across hundreds of items, material use becomes measurable.
Large hoops have an obvious purpose: they accommodate larger designs or multiple elements when the machine supports the required field.
They should be selected because the project needs the space, not because larger accessories appear more capable.
A Larger Hoop Cannot Override Machine Travel
This is the rule that prevents many expensive mistakes.
Attaching a physically larger hoop does not automatically increase the embroidery machine’s maximum field.
The machine’s carriage determines how far the hoop can move along each supported axis.
If the carriage can position the needle through only a 100 × 100 mm field, a frame with a much larger opening does not suddenly create 200 mm of travel.
Manufacturers therefore specify compatible hoops and embroidery areas for particular machines.
An unsupported hoop can also create mechanical risks if the machine attempts movement that places the needle near or over part of the frame.
Compatibility should never be guessed from the attachment shape alone.
The machine manual or manufacturer’s accessory documentation should govern the decision.
Repositionable Hoops Are a Different Idea
A repositionable or multi-position hoop can create confusion because it may be physically larger than the machine’s ordinary embroidery field.
Its purpose is not necessarily to enlarge the carriage travel.
Instead, the hoop can provide multiple attachment positions. The user embroiders one section, repositions the hoop on the carriage without completely removing and rehooping the fabric, then stitches another section.
This can make larger compositions possible.
But the process is fundamentally different from stitching one large design inside a genuinely larger field.
The embroidery must be divided appropriately. Registration between sections matters. Software preparation may be required.
A multi-position hoop therefore expands workflow possibilities without changing the machine’s underlying carriage travel.
That distinction is subtle but critical.
Design Splitting Can Extend a Project, Not the Machine
Large designs can sometimes be divided into sections that fit smaller embroidery fields.
For example, artwork exceeding a machine’s maximum dimensions might be separated into two or more files. Each section is embroidered after the fabric is repositioned.
This technique can produce work larger than a single hooping field.
It does not mean the machine now has a larger field.
The practical difficulty is registration.
If adjacent sections are misaligned, outlines can shift, borders may fail to meet and gaps can appear between design elements.
The greater the number of sections, the more opportunities exist for cumulative placement error.
Design splitting is therefore a useful technique rather than a substitute for unlimited field size.
A buyer expecting large designs every week should not assume that repeatedly splitting them will feel equivalent to owning a machine designed for the required dimensions.
Project Type Should Determine Field Size
The appropriate embroidery field depends heavily on the work.
Small monograms and compact names require relatively little space.
Large jacket backs require far more.
Between those extremes sit children’s clothing, towels, quilt blocks, bags, shirt logos, decorative panels and countless other projects.
A useful purchasing exercise is to gather representative designs before buying the machine.
The buyer can record their actual dimensions and compare them against candidate machines.
This reverses the usual shopping process.
Instead of purchasing a machine and later discovering what fits, the buyer establishes what needs to fit and eliminates machines that cannot accommodate it.
That approach is particularly useful because field size is a hardware restriction.
Monograms Rarely Need Huge Fields
Initials, names and small personalization designs are among the least demanding projects in terms of area.
A 4 × 4-class machine can handle a broad range of compact monograms and motifs.
That makes smaller-field machines rational for users whose embroidery interests remain concentrated on towels, children’s items, labels and small garment placements.
A larger field still offers flexibility.
A long name, larger decorative frame or combination of lettering and imagery may exceed a small hoop even when each individual component appears modest.
The buyer should therefore consider compositions rather than isolated letters.
The question is not merely how large one initial will be.
It is how large the finished arrangement becomes.
Shirt Logos Often Fit Moderate Fields
Left-chest logos are typically constrained by garment proportions as much as machine capability.
A very large design can look misplaced even when the machine can technically stitch it.
This means a moderate embroidery field can handle many common shirt-logo applications.
The challenge changes when the work moves to full fronts, large backs or broad decorative graphics.
At that point, the field becomes a physical project boundary.
For businesses, this matters because customer requests do not necessarily align with the machine already on the table.
A machine chosen around today’s small logo work may become restrictive if future orders move toward jackets, bags or larger promotional garments.
Jacket Backs Expose Small Fields Quickly
Large garment-back embroidery is one of the clearest cases for greater field capacity.
The design may span substantial width and height.
A small machine can potentially divide some artwork into sections, but repeated rehooping and registration can make the workflow far more demanding.
Larger native fields reduce that dependence.
This does not mean every embroidery buyer needs a machine capable of jacket-back work.
Unused field capacity still costs money and physical space.
The more rational question is whether large-format projects are realistically part of the intended workload.
If the answer is yes, field size should receive high priority at purchase.
Quilting Creates Its Own Field-Size Questions
Embroidery and quilting intersect in several ways.
An embroiderer may decorate individual quilt blocks, create labels, stitch appliqué elements or use embroidery designs as quilting motifs.
Field size affects how much can be completed in one hooping.
A 4 × 4 field can accommodate many small block designs. Larger quilt blocks may benefit from 5 × 7, 6 × 10 or larger capacity depending on the intended artwork.
Repeating a small design across a quilt is different from stitching a large continuous motif.
The required field should therefore be determined by the actual quilting method rather than by the overall dimensions of the finished quilt.
A king-size quilt does not automatically require a king-size embroidery field.
Caps Use Different Geometry
Cap embroidery should not be evaluated solely through flat-hoop dimensions.
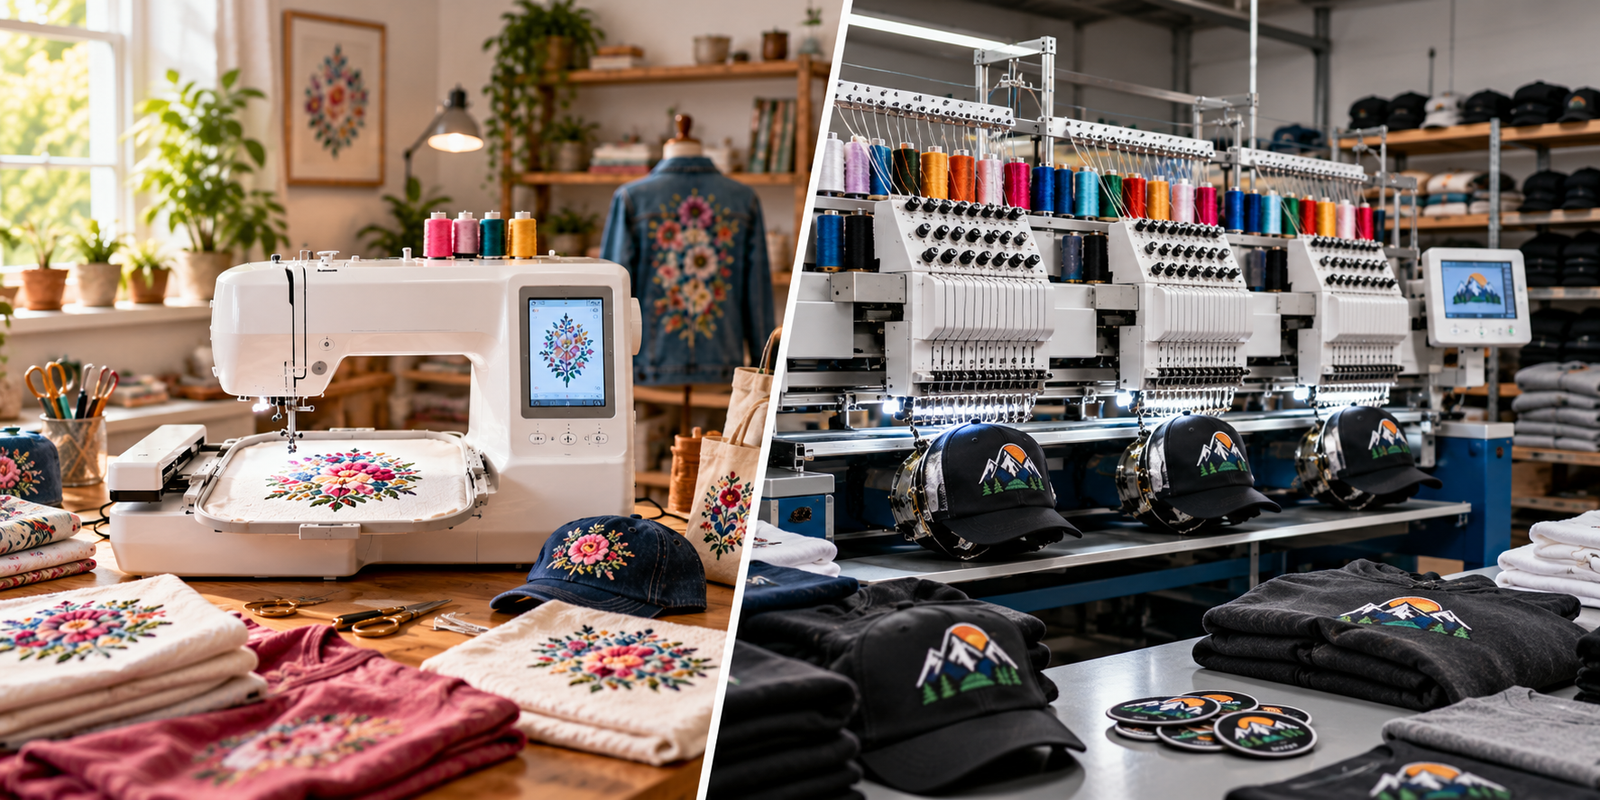
Caps are curved objects, and compatible embroidery systems may use specialized cap frames or drivers.
The available embroidery area can be long and shallow rather than resembling a conventional rectangular garment hoop.
A machine with a large flat field does not automatically offer an equally large cap field.
This distinction matters for anyone buying equipment primarily for hats.
The buyer should inspect the manufacturer’s stated cap embroidery dimensions, compatible frames and machine architecture rather than extrapolating from flat embroidery specifications.
The project geometry has changed, so the relevant field specification changes with it.
Multi-Needle Machines Do Not Automatically Have Huge Fields
Multi-needle embroidery equipment can create the impression that professional-looking hardware must always provide enormous embroidery dimensions.
That assumption is unsafe.
Needle count and field size measure different capabilities.
A 10-needle machine provides up to 10 prepared needle positions. That tells the buyer nothing definitive about the carriage dimensions.
A single-needle machine with a large embroidery unit can potentially offer more flat design area than a particular multi-needle model.
The reverse can also be true.
This is why embroidery-machine comparisons should separate at least four specifications:
- Needle count
- Maximum embroidery field
- Maximum embroidery speed
- Supported hoop and frame systems
Combining them into a vague idea of machine “size” hides meaningful differences.
Hoop Quantity Is Less Important Than Hoop Relevance
Accessory lists often advertise multiple included hoops.
The number sounds useful, but quantity alone says little.
Three hoops clustered around similar dimensions may be less useful for a particular owner than two well-chosen sizes that match recurring projects.
A practical hoop collection often develops around repeated work.
A small hoop can handle names and compact motifs efficiently. A medium frame may cover common garment designs. A large frame can address broader artwork.
Specialty frames can then be added when the machine and project justify them.
The objective is not to own the largest collection.
It is to avoid forcing every project into one inconvenient frame.
Magnetic Frames Change Holding, Not Field Limits
Magnetic embroidery frames have become common accessories for certain machines and workflows.
Their attraction lies in how materials are secured.
Instead of relying solely on the conventional nested inner-and-outer-hoop structure, magnetic systems use magnetic force to hold the embroidery sandwich.
This can simplify handling for some bulky, difficult or repeatedly positioned materials.
Yet a magnetic frame does not override the machine’s carriage dimensions.
A larger magnetic accessory remains subject to the embroidery area supported by the machine and frame combination.
Holding technology and embroidery capacity are separate questions.
The same principle applies to clamp frames and other specialty systems.
Software Cannot Create Mechanical Travel
Modern embroidery software can resize designs, rotate them, combine elements and divide large artwork into sections.
Those functions are powerful.
They do not change the machine’s motors, rails or carriage.
This boundary is useful to keep in mind because digital interfaces can make embroidery feel almost unlimited. A design can be enlarged freely on a computer screen until the software reports that it no longer fits the selected hoop.
At that moment, mathematics meets machinery.
The user can reduce the design, select a larger supported hoop, split the artwork or move to equipment with a larger field.
There is no software command that creates additional physical carriage travel.
Resizing Designs Has Limits Too
Shrinking a design is not always a clean solution to field restrictions.
Embroidery is composed of stitches rather than scalable pixels.
Reducing the physical dimensions while retaining inappropriate stitch density can place excessive thread into a smaller area. Enlarging without suitable recalculation can produce inadequate coverage or overly long stitches.
Embroidery software may recalculate stitches depending on the file type and software functions, but results still require judgment.
Lettering presents particular difficulty.
Small text can lose clarity because thread and needle diameter impose physical limits that do not exist in vector graphics.
A buyer should therefore avoid assuming that every oversized design can simply be reduced until it fits.
Field size and intended design scale remain connected.
Bigger Fields Affect Machine Size and Cost
Greater embroidery travel requires physical engineering.
A larger field needs sufficient carriage movement and clearance. Larger hoops themselves require storage and operating room.
As field dimensions increase, the embroidery setup can become less convenient to move and store.
That creates a genuine trade-off.
The largest available field is not automatically the correct choice for someone embroidering small names twice a month.
A compact machine can be easier to live with.
For a frequent embroiderer working on broad designs, however, repeatedly fighting a small field can be far more frustrating than accommodating a larger machine.
Capacity has value only when projects use it.
How to Choose a Field Size Before Buying
The strongest approach is empirical.
Before selecting a machine, the buyer can create a small project inventory:
- Five designs likely to be embroidered most often
- The largest design realistically expected
- The longest name or lettering arrangement anticipated
- Typical garment placements
- Expected quilt-block dimensions
- Likely bag or jacket designs
- Cap requirements, if relevant
Each design should be measured in both directions.
Those measurements can then be compared directly with manufacturer specifications.
A margin is useful. Buying a machine whose maximum field exactly matches the largest expected design leaves little flexibility for future variation.
At the same time, paying substantially more for unused area is unnecessary.
The target is adequate headroom, not maximum dimensions for their own sake.
Field Size Should Be Compared Before Built-In Design Counts
Built-in embroidery libraries are easy to advertise because large numbers attract attention.
Field size deserves greater scrutiny.
Design files can often be added later through USB, wireless transfer or other supported methods.
Physical embroidery travel cannot.
A machine with 500 built-in designs and an unsuitable field may be less useful to a particular buyer than one with fewer built-in patterns but the dimensions needed for recurring projects.
The same applies to fonts.
Built-in content is convenient.
Hardware boundaries are permanent.
That distinction should influence how specification sheets are read.
The Cost of Choosing Too Small
Buying too little field capacity can create several forms of friction.
Large designs may require splitting.
Projects may require repeated hooping.
Alignment becomes more demanding.
Some artwork may simply be rejected.
Customers in a small-business setting may need to be told that requested dimensions cannot be produced.
Eventually, the owner may replace equipment earlier than expected.
None of these outcomes makes a small-field machine inherently poor.
They mean the machine was mismatched to the intended work.
A 4 × 4 machine can be an excellent tool when the projects belong inside 4 × 4.
The Cost of Choosing Too Large
Overbuying carries costs as well.
Larger machines can require more table or floor space.
Large hoops require storage.
The machine may be heavier.
Purchase cost may increase.
An owner who stitches only small monograms may never use the additional capacity.
This is why field-size advice should resist the reflex to recommend the largest affordable machine.
Unused capability is still paid capability.
The better purchase is one that covers realistic projects with enough margin for plausible growth.
Final Considerations
Embroidery hoop size and embroidery field size describe related but different parts of the same system.
The hoop physically holds fabric and stabilizer.
The embroidery field defines where the machine can place stitches within the supported movement range.
Confusing the two can lead to unrealistic expectations, particularly when a physically large accessory is assumed to increase machine travel.
It does not.
A larger supported field changes project possibilities because both design dimensions must fit inside the machine’s working boundary. The difference can be much greater than the raw measurements suggest: a nominal 5 × 7-inch rectangle has more than twice the area of a 4 × 4-inch rectangle, while an 8 × 12 rectangle is dramatically larger again.
Yet area alone is insufficient. A design must fit in width and height, and rotation solves only those cases where the alternate orientation falls inside both limits.
Repositionable hoops and design splitting can extend what can be created, but they do so by dividing the project into multiple embroidery positions. They do not alter the machine’s underlying carriage travel.
The same separation applies to needle count. Multi-needle equipment does not automatically mean a larger field, just as a large field does not imply multiple needles.
The buyer therefore needs to evaluate machine architecture piece by piece.
For small names, monograms and compact motifs, a modest field may provide all the capacity required. For broad quilt blocks, bags, jackets and larger garment decoration, additional travel can prevent repeated splitting and alignment work.
Cap embroidery requires its own assessment because curved frames and cap drivers can have working dimensions unrelated to the machine’s maximum flat field.
The most reliable buying method is to begin with real designs.
Measure the projects likely to be stitched. Record width and height. Identify the largest realistic artwork. Then compare those dimensions against the machine’s stated embroidery field and supported hoops.
That process removes much of the ambiguity from shopping for the best sewing and embroidery machines.
Hoops can be added when compatible. Designs can be downloaded. Software can be upgraded. Thread collections can grow.
The machine’s physical travel is far less negotiable.
For that reason, embroidery field size should be treated as one of the machine’s defining specifications rather than a number buried beneath decorative features. The right field does not need to be enormous. It needs to be large enough that the projects intended for the machine fit without turning routine embroidery into an exercise in workarounds.